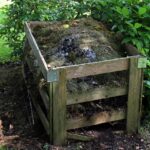
Composting Coffee Grounds
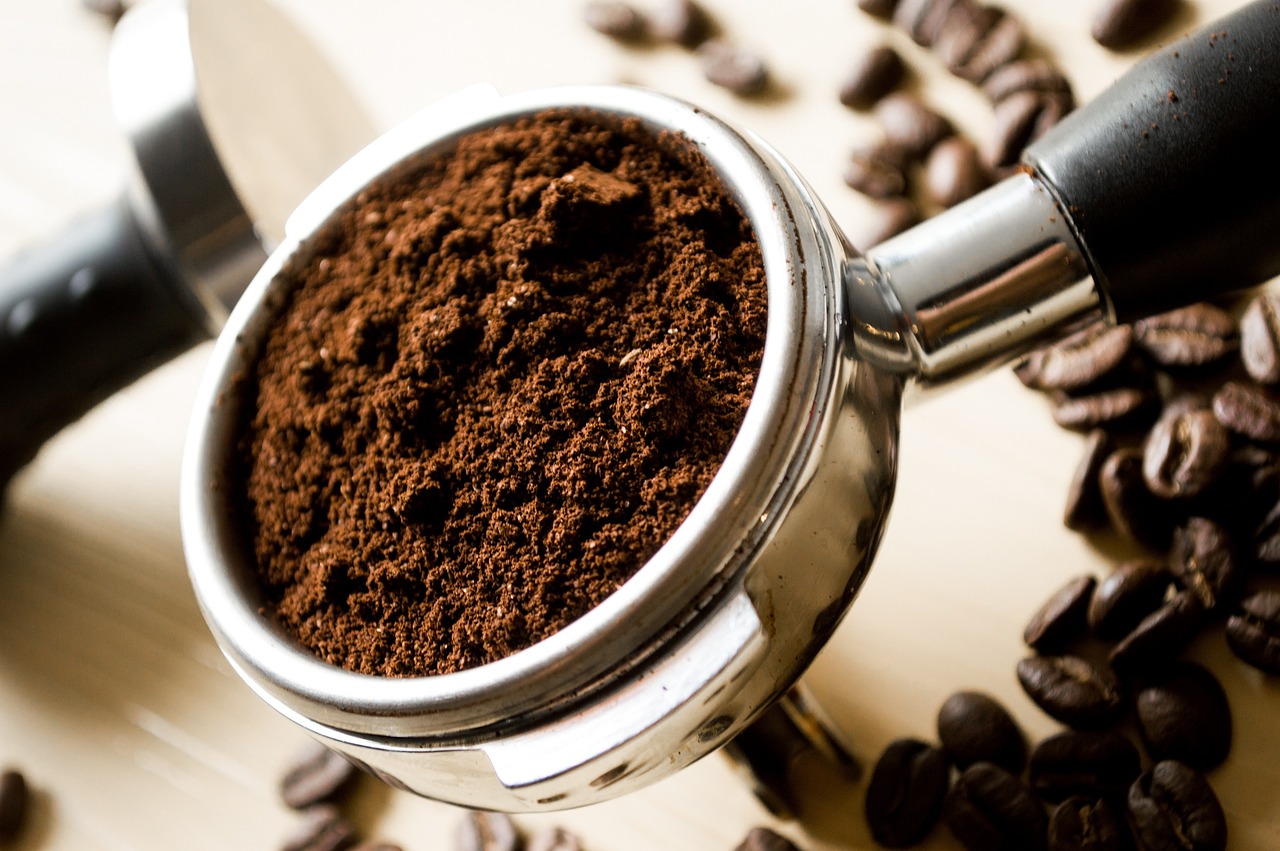
If you’re like millions of others, your day doesn’t truly start until you’ve had that first cup of coffee. But once the pot is empty, what happens to those soggy, dark brown grounds? Most people toss them in the trash, where they end up in a landfill, producing methane gas.
However, for a gardener, coffee grounds aren’t waste they are “black gold.” Rich in nitrogen, slightly acidic, and loved by earthworms, coffee grounds are one of the most versatile organic materials you can add to your compost pile. In this guide, we will explore everything you need to know about composting coffee grounds, from the chemistry of nitrogen to the myths about soil acidity.
Why Compost Coffee Grounds?
Before we dive into the “how,” let’s look at the “why.” Coffee grounds offer a unique set of benefits that make them a superstar ingredient in organic gardening.
1. High Nitrogen Content
In composting terminology, materials are divided into “Greens” and “Browns.”
- Greens: Nitrogen-rich materials (food scraps, fresh grass).
- Browns: Carbon-rich materials (dried leaves, cardboard, straw).
Despite their brown color, coffee grounds are a “Green” material. They contain about 2% nitrogen by volume. Nitrogen is the fuel that bacteria use to grow and reproduce, which in turn generates the heat needed to break down organic matter quickly.
Also Read: How to start composting.
2. Improved Soil Structure
When coffee grounds break down, they improve the “tilth” or physical condition of the soil. They help sandy soil retain water and help break up heavy clay soil to improve drainage and aeration.
3. A Feast for Earthworms
If you want a healthy garden, you need earthworms. Worms are naturally attracted to coffee grounds. They consume the grounds and pull them deeper into the soil, aerating the earth and leaving behind nutrient-dense castings (worm poop).
Also read: How to start vermicomposting (worm composting).
The Chemistry of Coffee Grounds
One of the most common questions gardeners ask is: “Won’t coffee grounds make my soil too acidic?”
It’s a logical concern. Liquid coffee is quite acidic (usually between 4.8 and 5.1 pH). However, most of that acidity is water-soluble. When you brew coffee, the acid ends up in your cup, not in the grounds.
- Used Coffee Grounds: Usually have a pH near neutral (6.5 to 6.8). They are safe for almost all plants when composted.
- Fresh (Unused) Coffee Grounds: These are acidic. You should only use fresh, unbrewed grounds around acid-loving plants like blueberries, azaleas, or hydrangeas.
How to Compost Coffee Grounds: Step-by-Step
Composting is as much an art as it is a science. To get the best results with coffee grounds, follow these steps.
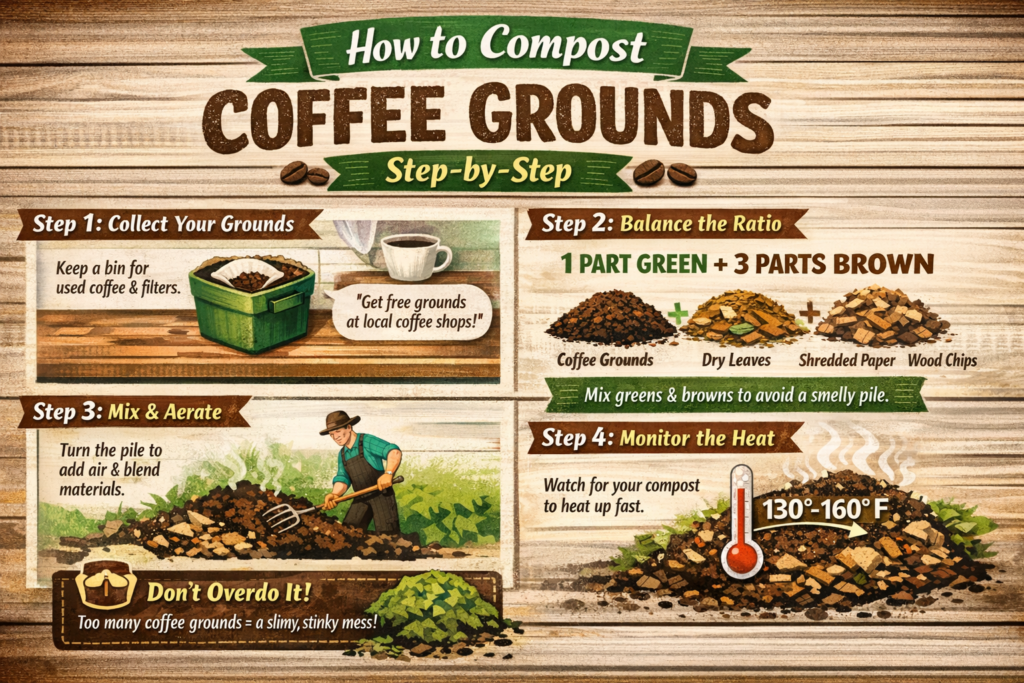
Step 1: Collect Your Grounds
Keep a small bin under your sink for daily grounds. Don’t forget the paper filter! Most coffee filters are biodegradable and can be tossed right into the compost pile along with the coffee.
Pro Tip: If you don’t drink enough coffee to satisfy your garden’s needs, visit a local coffee shop. Many cafes (like Starbucks) have a “Grounds for Your Garden” program where they give away bags of used grounds for free.
Step 2: Balance the Ratio
The secret to a smell-free, fast-acting compost pile is the ratio of 1 part Green to 3 parts Brown. Since coffee is a “Green,” you must balance it with “Browns” like:
- Dry leaves
- Shredded newspaper or cardboard
- Wood chips
- Straw
If you add too many coffee grounds without enough carbon (browns), your pile may start to smell like ammonia and become a slimy mess.
Step 3: Mix and Aerate
Don’t just dump a thick layer of coffee grounds on top of your pile. This can create a waterproof barrier that prevents oxygen from reaching the center of the heap. Instead, incorporate the grounds into the pile using a pitchfork or compost turner.
Step 4: Monitor the Heat
Coffee grounds are excellent for “hot composting.” Because they are finely ground, they provide a massive surface area for bacteria to work on. You’ll likely notice the temperature of your pile rising within 24 to 48 hours of adding a fresh batch of grounds.
Alternative Uses
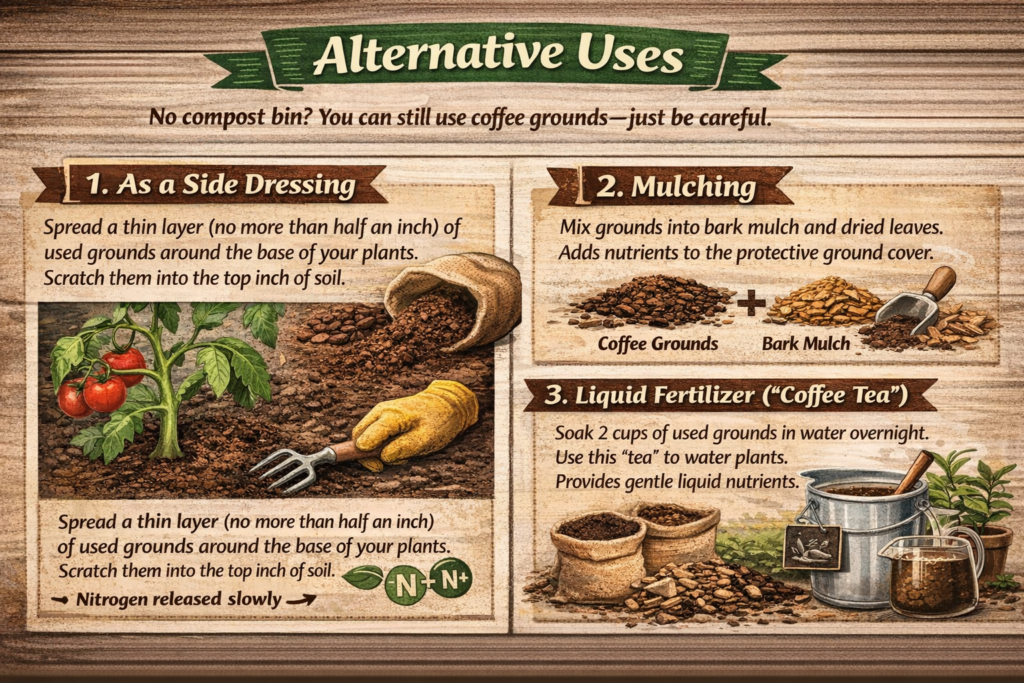
If you don’t have a compost bin, you can still use coffee grounds, but you must be careful.
1. As a Side Dressing
Spread a thin layer (no more than half an inch) of used grounds around the base of your plants. Scratch them into the top inch of soil. This allows them to break down slowly and release nitrogen directly to the roots.
2. Mulching
Coffee grounds alone make poor mulch because they compact easily. However, if you mix them with bark mulch or dried leaves, they add a boost of nutrients to your protective ground cover.
3. Liquid Fertilizer (“Coffee Tea”)
Soak two cups of used coffee grounds in a 5-gallon bucket of water overnight. Use this “tea” to water your plants. It provides a gentle, liquid boost of nitrogen and potassium.
Potential Drawbacks and Precautions
While coffee grounds are generally safe, there are a few things to keep in mind:
| Concern | Solution |
| Caffeine Toxicity | High concentrations of caffeine can actually inhibit plant growth (allelopathy). Always compost grounds or use them sparingly to allow caffeine to dissipate. |
| Pets | Large amounts of coffee grounds can be toxic if ingested by dogs or cats. If your pets like to dig in the garden, stick to buried composting or traditional bins. |
| Fungus | If left in a pile without aeration, grounds can grow a green or blue fungus. While usually harmless to the compost, it’s a sign you need to turn the pile. |
Common Myths vs. Facts
Myth: Coffee grounds kill slugs and snails.
Fact: While some gardeners swear by this, scientific evidence is mixed. A very high concentration of caffeine can kill slugs, but used grounds usually don’t have enough left to be a 100% effective barrier. It may, however, act as a physical deterrent because of its texture.
Myth: You can’t put coffee grounds in a worm bin (Vermicompost).
Fact: This is false! Worms love coffee grounds. However, because grounds are acidic and can heat up, introduce them in small quantities to ensure you don’t overwhelm your worms.
Conclusion
Composting coffee grounds is one of the easiest ways to reduce your environmental footprint while simultaneously building a lush, vibrant garden. By understanding the balance of nitrogen and carbon, and debunking the myths about acidity, you can turn your daily habit into a sustainable cycle of growth.